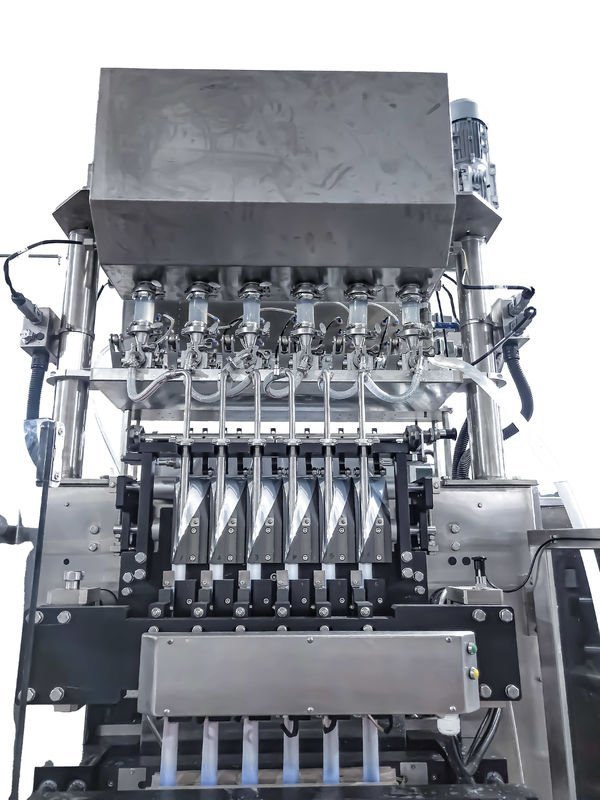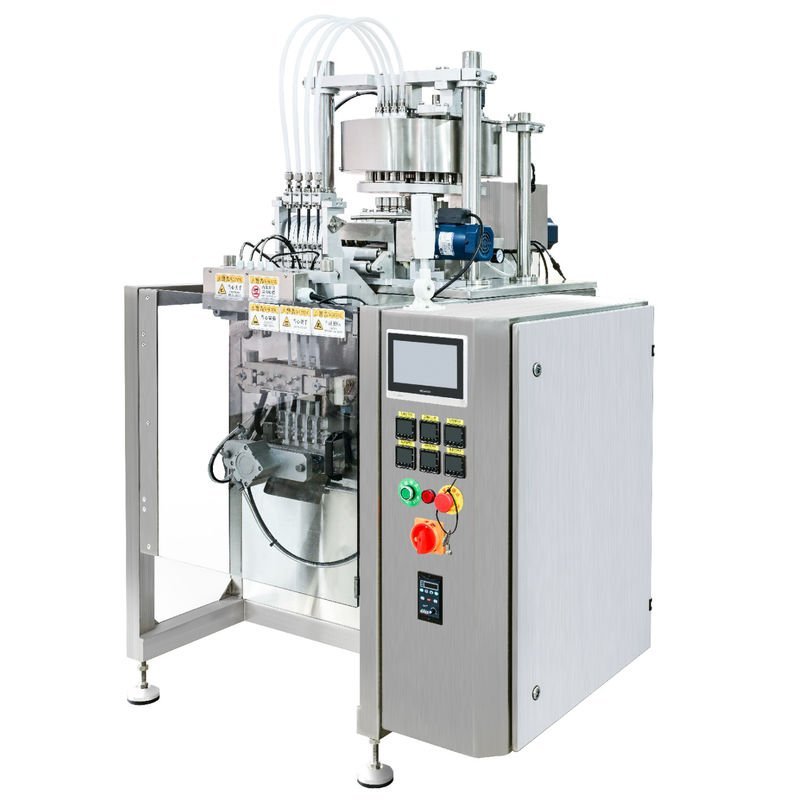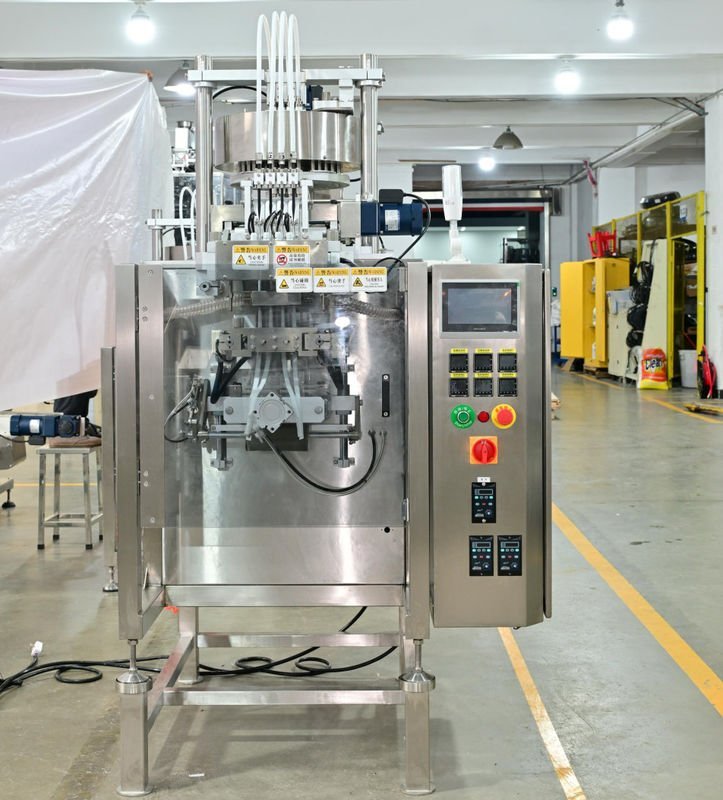
Installing a packaging machine in your bakery is a significant step towards enhancing efficiency, ensuring product consistency, and scaling your operations. Whether you’re automating the packaging of artisan bread, delicate pastries, or pre-mixed ingredients, a proper installation is the foundation for long-term reliability. This guide provides a comprehensive walkthrough of the installation process, associated costs, and industry best practices to ensure your new equipment integrates seamlessly into your production workflow.

Pre-Installation Planning and Site Assessment
Before the machine arrives at your facility, thorough planning is essential. A successful installation begins long before the physical setup.
Key Consideration: Assess your available floor space, ceiling height, and access points. Packaging machines, especially full filling & packaging lines, require specific dimensions and clearances for operation and maintenance. Ensure doorways and pathways are wide enough for delivery.
You must verify utility requirements: electrical (voltage, phase, amperage), compressed air (PSI and CFM), and any necessary water or drainage lines. Consult the machine’s manual or your supplier, like Packmate Machinery, for exact specifications. Preparing the foundation is also critical; the floor must be level and robust enough to handle the machine’s weight and vibration during operation.
Essential Pre-Installation Checklist
- Confirmed floor plan and machine placement.
- All utilities (power, air) installed and tested at the connection point.
- Required packaging materials (films, pouches) are on-site for testing.
- Designated and trained personnel are scheduled for the installation day.
- All safety clearances and local regulations are reviewed.
Step-by-Step Installation Process
Following a structured procedure minimizes downtime and prevents errors. Most professional installations follow these core steps.
Step 1: Unloading and Positioning
Use appropriate equipment (forklifts, pallet jacks) to carefully unload the machine. Position it precisely on the marked spot on the floor, using leveling feet to ensure it is perfectly horizontal in all directions. An unlevel machine can cause misalignment, wear, and inaccurate filling.
Step 2: Mechanical Assembly and Connection
This involves attaching any components shipped separately, such as hoppers, conveyors, or discharge chutes. Next, connect all utilities. Always lock out/tag out power sources before making any connections. Connect electrical cables to the designated power supply, attach air lines using the correct fittings, and link any required exhaust or drainage tubes.
Step 3: Control System Setup
Power on the control system and initialize the Human-Machine Interface (HMI). Input basic parameters such as language, units of measurement, and date/time. This is also the stage to perform a preliminary motor check (without product) to ensure all axes move freely and in the correct direction.
Pro Tip: Documentation is Key
During assembly, take photos and notes. Keep all manuals, wiring diagrams, and part lists in a dedicated binder. This will be invaluable for future troubleshooting, maintenance, or when ordering spare parts from your supplier’s service department.
Step 4: Calibration and Test Runs
Calibration is the heart of the installation. Begin with empty runs to check mechanical timing and sealing functions. Then, introduce your actual packaging material. Calibrate the film feed, tension, and sealing temperature to achieve perfect, consistent seals. Finally, run product through the machine. Calibrate the filling system—whether volumetric, auger, or weigh scale—to hit your target weight with precision. This may require multiple adjustment cycles.
Step 5: Operator Training and Handover
A machine is only as good as its operator. Comprehensive training should cover daily startup/shutdown procedures, routine cleaning, basic troubleshooting, and safety protocols. Ensure operators are comfortable performing changeovers for different products or package sizes. A proper handover includes all documentation and a signed-off performance test report.
Understanding the Costs Involved
The total cost of installing a bakery packaging machine extends beyond the purchase price of the equipment itself. A clear budget should account for all related expenses.
1. Machine Purchase Price
This is the most variable cost, depending on the machine’s type, speed, and automation level. A basic single-lane sachet machine differs greatly in price from a high-speed, multi-lane stick pack machine. Consider your output requirements carefully.
2. Installation and Commissioning Fees
Many suppliers offer professional installation services for a fee. This cost covers the technician’s travel, time, and expertise, ensuring the installation is done correctly. While it’s an added expense, it often prevents costly self-installation mistakes and accelerates time-to-production.
3. Site Preparation Costs
These are often overlooked. They can include electrical work to run a new circuit, plumbing for water cooling, installing an air compressor system, or even reinforcing the factory floor. Always get quotes for this work locally.
4. Ongoing Operational Costs
Factor in the recurring costs of packaging materials (laminates, films), spare parts, preventive maintenance contracts, and the energy consumption of the machine. Efficient machines, like those from Packmate’s range, are designed to minimize material waste and energy use, offering better long-term value.
Best Practices for Optimal Performance
Adopting these practices from day one will maximize your machine’s lifespan and return on investment.
Implement a Rigorous Preventive Maintenance (PM) Schedule: Do not wait for a breakdown. Follow the manufacturer’s PM guide to regularly lubricate bearings, check seal integrity, inspect electrical components, and calibrate scales. This is the single most effective way to avoid unplanned downtime.
Standardize Your Packaging Materials: Consistency in film grade, thickness, and roll quality drastically improves machine performance. Work with your material supplier and machine technician to define the optimal specifications for your equipment.
→ Focus on Operator Ownership: Empower your line operators. When they feel responsible for the machine’s output and condition, they are more likely to perform basic care, spot early warning signs, and suggest improvements. Continuous training is crucial.
Keep a Detailed Machine Logbook: Record daily output, any stoppages, adjustments made, and maintenance performed. This log becomes a powerful diagnostic tool for identifying recurring issues and planning upgrades. It also provides valuable data when consulting for packaging solutions.
Plan for Future Scalability: If you anticipate growth, discuss modular options with your supplier. Can the machine be easily upgraded with additional lanes or integrated with downstream equipment like cartoners? Planning for scalability protects your initial investment.
Frequently Asked Questions (FAQs)
Q1: How long does a typical packaging machine installation take?
A: For a standard machine, the physical installation and basic commissioning typically take 2 to 5 days. However, the total timeline from order to full production can be 8-16 weeks, including manufacturing, shipping, site preparation, and final calibration with your product.
Q2: Can we install the machine ourselves to save costs?
A: While possible for very simple machines, it is generally not recommended for automated systems. Professional installers have the expertise to handle complex mechanical, electrical, and software setup, ensuring warranty validity and optimal performance. Incorrect installation can lead to chronic problems and void warranties.
Q3: What is the most common mistake during installation?
A: The most common mistake is inadequate site preparation, particularly an unlevel floor or insufficient utility supply (e.g., low air pressure). This causes immediate performance issues and long-term wear. Always complete the pre-delivery checklist provided by your supplier.
Q4: How often should maintenance be performed?
A: Maintenance frequency depends on usage. Daily cleaning and visual checks are essential. Lubrication and minor adjustments might be weekly or monthly. A comprehensive professional service should be scheduled at least annually, or as per the machine’s operating hour guidelines.
Q5: What support should we expect from the machine supplier after installation?
A: A reputable supplier should provide detailed manuals, access to spare parts, remote technical support, and options for on-site service visits. They should also offer training for your staff. Clear communication channels for ongoing support are a critical part of the purchase decision.